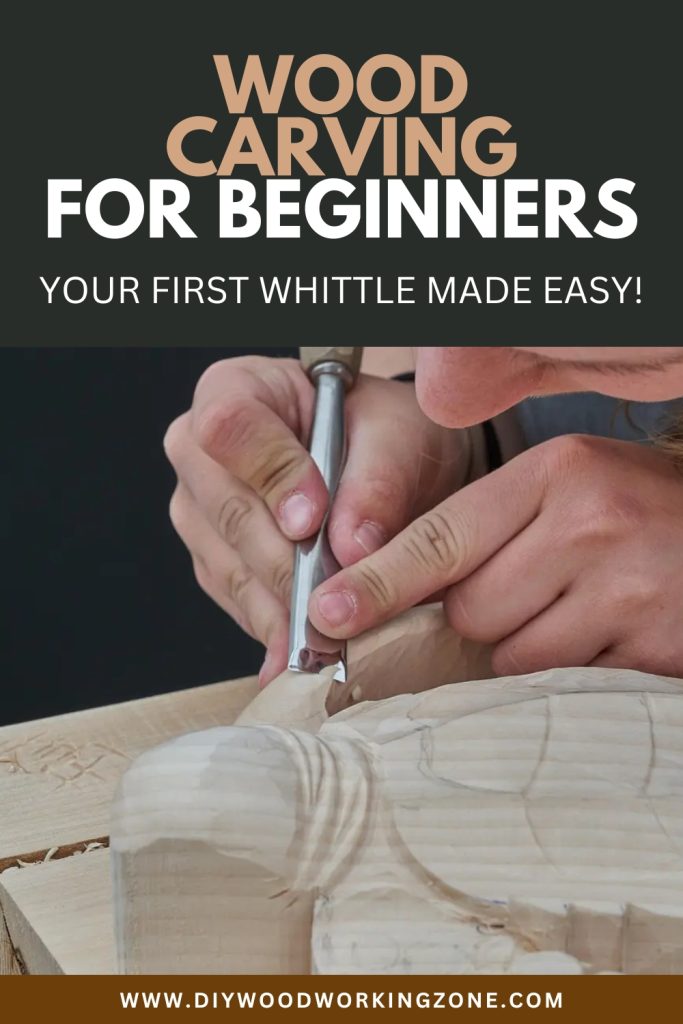
Wood Carving for Beginners: Your First Whittle Made Easy!
Wood carving is an incredibly satisfying and relaxing hobby that allows you to turn a simple block of wood into something beautiful. Whether you’re looking to create small figurines, intricate designs, or just enjoy the therapeutic process of whittling, getting started with wood carving is easier than you might think! In this guide, I’ll walk you through everything you need to know as a beginner—from choosing the right tools to carving your first project.
What is Wood Carving?
Wood carving is the art of shaping wood into decorative or functional objects using specialized tools. It’s been practiced for centuries, from ancient sculptures to modern craftsmanship. Whether you’re looking to create intricate details or simple rustic carvings, there’s something incredibly rewarding about transforming a raw piece of wood into a work of art.
Why Wood Carving is a Great Hobby
Wood carving isn’t just about making cool things—it’s also a fantastic stress-reliever. The repetitive motions, the scent of fresh wood, and the quiet focus required all make it a calming and mindful activity. Plus, it doesn’t require a massive budget to get started, making it an accessible and rewarding hobby.
Understanding the Different Types of Wood Carving
There are several styles of wood carving, and each has its own unique approach:
- Whittling: The simplest form, using a small knife to shave off wood and shape objects.
- Chip Carving: Creating patterns and designs by removing small chips of wood.
- Relief Carving: Carving images into a flat piece of wood, leaving a raised design.
For beginners, whittling is the best place to start—it’s straightforward, requires minimal tools, and is perfect for learning basic knife control.
Essential Tools for Wood Carving
Before you start carving away, you’ll need the right tools for the job. You wouldn’t try to bake a cake without measuring cups, right? The same goes for wood carving. A good set of tools makes learning easier, safer, and way more enjoyable. As a beginner, you don’t need a massive toolkit—just a few essential tools to get started. We’ll go over the basics, from the right knife to some handy extras, so you can start whittling with confidence.
Choosing the Right Knife
Your knife is the heart and soul of wood carving. Think of it like a chef’s knife in the kitchen—it needs to be sharp, reliable, and comfortable to hold. A whittling knife is the best place to start. Unlike regular pocket knives, these are designed for precision and control. Brands like Morakniv and Flexcut make great options for beginners. If you try carving with a dull or poorly designed knife, you’ll struggle and might even risk injury. A good knife makes all the difference, so invest in one that feels right in your hand and glides through wood smoothly.
Safety Gear You Shouldn’t Ignore
I know, I know—safety gear isn’t the most exciting topic. But trust me, a deep cut on your finger will make you wish you had paid attention! A pair of cut-resistant gloves can save your hands from accidental slips. Even experienced carvers wear them because, let’s be honest, accidents happen. A thumb guard is another great idea, especially when you’re learning new techniques. And don’t forget your eyes—if you’re using chisels, wear safety glasses to keep wood chips from flying where they shouldn’t. Staying safe means you can carve more and worry less!
Other Handy Tools for Beginners
Once you’ve got your knife, you might want to explore other tools to expand your carving skills. Chisels and gouges help create deeper cuts and more detailed designs. A mallet can be useful for controlled force when working with harder woods. And let’s not forget a sharpening stone—a sharp tool is a safe tool! If you want to smooth out your carvings, fine sandpaper is great for finishing touches. You don’t need to buy everything at once, but having a few extras can make your projects more exciting as you progress.
Choosing the Best Wood for Carving
Softwoods vs. Hardwoods
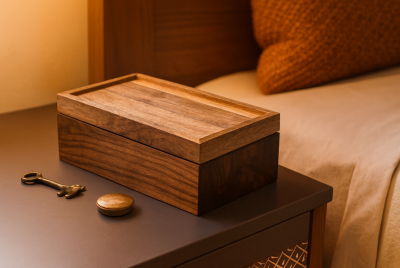
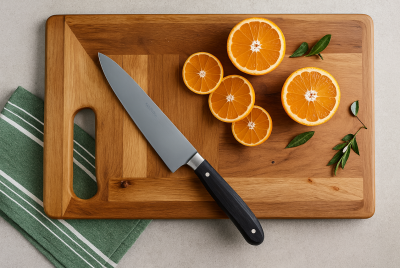
One of the biggest mistakes beginners make is choosing the wrong wood. Imagine trying to cut a steak with a butter knife—that’s what it feels like carving hardwood with a dull tool. Softwoods, like basswood and pine, are much easier to carve because they have a smoother grain and require less effort. Hardwoods, like oak and walnut, are beautiful but take a lot more skill (and patience!). If you’re just starting, go for softwoods. They’ll help you focus on technique rather than fighting with tough wood.
Best Beginner-Friendly Woods
If you want an easy and enjoyable carving experience, start with basswood. It’s soft, smooth, and doesn’t fight back when you cut into it. Pine is another good choice, though it can be a little grainy. Cedar smells fantastic and carves nicely, making it a fun option for small projects. Whatever you choose, make sure it’s free from knots and cracks—those can make carving unpredictable and frustrating. A good piece of wood makes the whole experience more fun and rewarding.
Getting Started with Your First Carving Project
Setting Up Your Workspace
Before you dive into carving, set up a comfy and safe workspace. You don’t need a fancy workshop—a sturdy table and good lighting will do just fine. Keep your tools organized so you’re not fumbling around looking for your knife mid-project. A non-slip mat can help keep your workpiece steady, preventing slips and mishaps. Also, keep a trash can or wood shavings bin nearby—carving can get messy fast! The more comfortable your space, the longer you’ll enjoy whittling away.
Basic Carving Techniques
Carving is all about technique. You wouldn’t start painting by trying to copy the Mona Lisa, right? Start with the basics:
- Push Cut: Push the knife forward to remove small shavings. This is great for shaping your piece.
- Pull Cut (Paring Cut): Pull the knife toward you in a controlled motion, like peeling an apple.
- Stop Cut: Make a small cut to prevent deeper cuts from going too far. This helps with outlining designs.
Practicing these techniques will build your confidence and control. Don’t rush—carving is a slow and steady game!
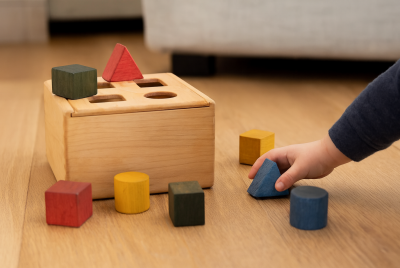
Practicing on Small Projects
When you’re new to wood carving, small projects are the way to go. Think of it like learning to cook—you wouldn’t start with a five-course meal, right? Try carving a simple wooden spoon, a tiny animal, or a mushroom. These projects help you get used to your knife, practice basic cuts, and gain confidence. Plus, they make great gifts or decorations! The key is to start small, enjoy the process, and celebrate every little success.
Common Mistakes Beginners Make (And How to Avoid Them!)
Let’s face it—mistakes happen. But knowing what to watch out for can save you some frustration.
- Using the wrong wood – Hardwoods can be frustrating for beginners. Stick to softwoods like basswood.
- Dull tools – A dull knife requires more force, increasing the risk of accidents. Keep your knife sharp!
- Ignoring safety – Always wear gloves, and never rush. Slow, steady cuts are the safest way to carve.
- Skipping practice – The more you carve, the better you get. Even 10 minutes a day helps improve your skills.
Learn from these mistakes and you’ll improve faster while keeping all your fingers intact!
Taking Your Skills to the Next Level
Experimenting with Different Styles
Once you’ve got the basics down, don’t be afraid to branch out! Try chip carving for decorative patterns, or experiment with relief carving to add depth to your designs. You can even mix different styles to create your own unique projects. Wood carving is an art, and like any art, it’s all about finding what inspires you. Don’t be afraid to get creative—your only limit is your imagination!
Where to Learn More
Want to keep improving? There are tons of great resources out there! YouTube is packed with free tutorials, and books like Whittling for Beginners are full of great tips. If you prefer hands-on learning, check out local woodworking clubs or classes. Check out sites like Woodcraft (https://www.woodcraft.com/) for great tools and tips! The more you learn, the better your skills will become, so keep carving and keep exploring!
Conclusion
Wood carving is one of those hobbies that just gets better the more you do it. There’s something magical about turning a simple block of wood into a piece of art with your own hands. Plus, it’s relaxing, rewarding, and a great way to slow down and enjoy the moment. So don’t overthink it—grab a piece of basswood, pick up your knife, and start carving. Your first whittle might not be perfect, but every cut brings you one step closer to mastering this timeless craft. Happy carving!
FAQs
- What is the best wood for beginners?
Basswood is the top choice because it’s soft and easy to carve. - How do I keep my carving knife sharp?
Use a sharpening stone and strop regularly to maintain a sharp edge. - Can I use any knife for wood carving?
Not all knives are suitable. A proper whittling knife is designed for precision and safety. - How long does it take to get good at wood carving?
It depends on practice, but most beginners see improvement in a few weeks. - Where can I buy wood carving tools?
Check out stores like Rockler or online marketplaces for a great selection.